Azure IoT Hub is the core Azure PaaS that enables reliable and secure bidirectional communications between IoT devices and a cloud solution. It helps to meet IoT implementation challenges such as:
- High-volume device connectivity and management;
- High-volume telemetry ingestion;
- Command and control of devices;
- Device security enforcement.
Before start, download and upgrade your device’s firmware.
See previous: Playing IoT on Azure
First step: Connecting your device to IoT Hub
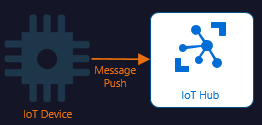
Once your device is updated with the latest firmware, you can proceed to “Connect IoT DevKit AZ3166 to Azure IoT Hub in the cloud“.
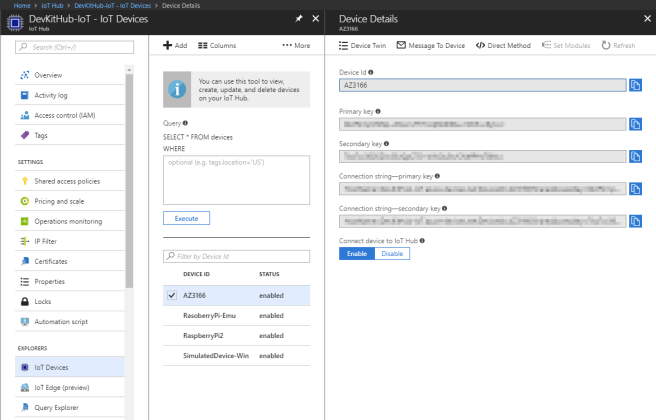
At the end you should be able to see your device enabled on IoT Hub portal under IoT Hub > IoT Devices > Device Details. Take note of the Connection string, you’ll need it later.
Creating a web application to view the real-time data
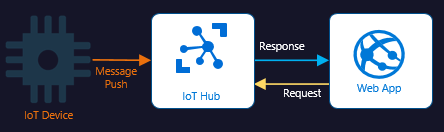
The next step is verify your data in real-time using a simple web application deployed on Azure. You don’t need to write from scratch, we’ll use an existing application available on GitHub.
Follow the steps on “Visualize real-time sensor data from your Azure IoT hub by using the Web Apps feature of Azure App Service“. It takes no more than a couple of minutes.
The result will be a simple page with a graph containing both Temperature and Humidity updated in real-time from your device:

See next: Part 2: Creating an alert using Service Bus and Logic Apps

One thought on “Part 1: Connecting your device to IoT Hub and viewing real-time data”